
I know I keep saying it, but I just can't help myself. Fall is finally here...the leaves have even gotten the message and started turning golden. Even though it's going to be short lived (it'll be 85 next week), I'm going to live it up while I can.
And honestly, what screams fall more than crisp apples? Ummmm... how about Apple Pie Apple Crisp!?!And since you know you're going to be craving this amazing food, why not spend some time canning this liquid nectar from the gods so you can have it in January? It's really not as hard as you would think... here, I'll even show you it's easy!
Here's what you need for the Apple Pie Filling:
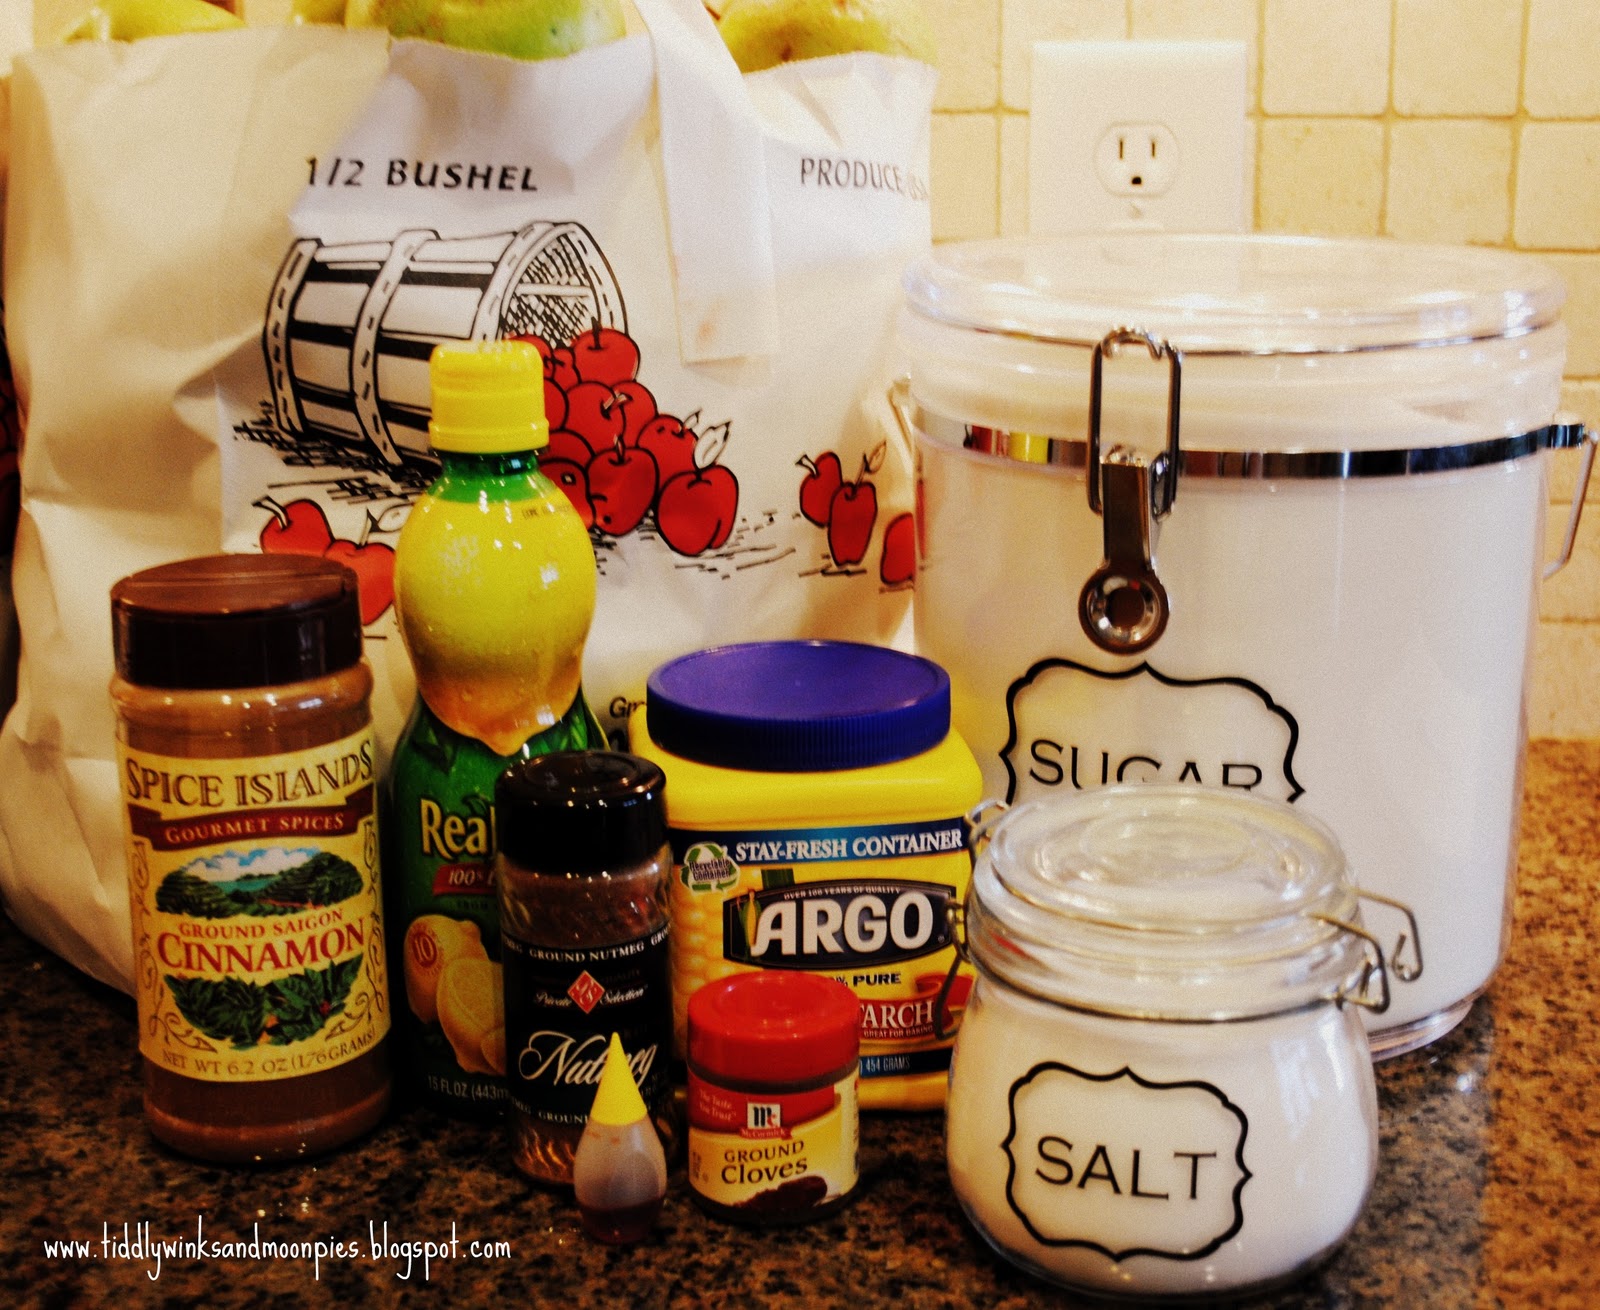 |
| Apples, Sugar, Cinnamon, Nutmeg, Cloves, Salt, Cornstarch, Lemon Juice, Yellow Food Coloring |
(Makes up to 7 quarts of filling)
Ingredients:
* 6 lbs Apples, any variety used for baking (about 32 cups of sliced apples depending on how much you pack into a jar)
* 4 1/2 cups White Sugar
* 1 cup Cornstarch
* 2 tsp Ground Cinnamon
* 1/4 tsp Ground Nutmeg
* 1/4 tsp Ground Cloves
* 2 tsp Salt
* 10 cups of Water (cold)
* 3 Tbl Lemon Juice
* 2 drops of Yellow Food Coloring
Along with canning supplies {Wide Mouth Jars, Lids, Rings, Water Bath, Jar Lifter}
Directions:
Start by sterilizing lids, jars and rings. To do this, place the lids and rings in a small saucepan and simmer on low while you cook the sauce. Also, now is the time to bring your water bath to a boil. Because nothing ruins the canning momentum like waiting for that massive pot to boil. To sterilize the jars, I just place them in the water bath (filled with water) and bring to a boil with the water. Pull them out just before filling with apples and sauce. Keeps the jars hot to fill with hot things. Gotta keep it germ-free.
Next you peel and slice your apples. If you happen to have a fancy peeler, corer, slicer thingy, use that. If you don't (I didn't), just peel and slice yourself. It doesn't really matter. It all tastes the same anyway. You'll need to end up with around 32 cups of sliced apples. Just get your biggest bowl and fill it up. Put aside. {and if you're worried about the apples turning colors, they are going to go brown when you cook them anyway, so don't stress}

Now onto the sauce. In a large pot, mix sugar, cornstarch, cinnamon, nutmeg and cloves.

Then add salt and water and mix well.
 |
| Be prepared to think this looks really gross... because it does. It's going to look like really watery milk. But it will get better. I promise. |
Bring to a boil and cook until think and bubbly.
 |
| Better right?! It's going to look a lot like caramel, but not quite as thick |
Remove from heat and add Lemon Juice and Food Coloring. (side note: You CANNOT skip this step for canning. It's where the acid comes from that preserves the food. So please don't be like me and waste an entire batch because you forgot to put in the lemon juice. Because it will break your heart. And I don't want that to happen)
Now you're going to fill the jars. The best way I've found is to fill the jars half full of apples, ladle in enough syrup to cover them, then using a knife, release the bubbles that are trapped.

Then finish pushing in as many apples as you can into the jar without going up the neck. Fill with more sauce. Release the air bubbles by using the knife to slide around the sides of the jar. Then fill up the neck with apples and sauce, leaving 1/2 inch headroom. {hope that made sense}.
Now wipe off the rims of the jars and put on lids and rings. Place in the water bath and bring to a boil. Then process for 20 minutes. Longer if you live at a high elevation.
Once they have processed, carefully take the jars out of the water bath and place on towels to cool down. If you are like me, some of your jars may leak out sauce when they start to cool. Don't worry about it. It will still seal just fine. Just wipe it off after it's cooled down.

See? Not that hard. I'd say it takes about an hour and a half per batch if you do it alone. I had my friend Liz over and we were whipping them out in about 40 minutes per batch. Totally doable!
The canned Apple Pie Filling will last a year in a cool, dry place, but let's be honest here. It's going to be gone long before it goes bad. It's just that GOOD!
Now for the Apple Crisp:
Ingredients:
* 2/3 cup Light Brown Sugar
* 1/2 cup Flour
* 1/2 cup Quick Oats
* 1/2 tsp Cinnamon
* 1/2 tsp Nutmeg
* 1/2 cup Stick Butter, softened
* 1 Jar Apple Pie Filling
Directions:
Preheat oven to 375 degrees. Spray 8x8 pan with nonstick cooking spray and fill with 1 jar of canned Apple Pie Filling.
Mix dry ingredients together, then cut in butter to form a crumbly mixture.

Spread mixture over apple pie filling and bake for 30-35 minutes, or until golden brown and bubbly.

Serve hot with Blue Bell Homemade Vanilla Ice Cream and Carmel Sauce. You will be in heaven!

Now go find some apples to can. You'll be happy you did!
I need to thank my best friend Tammy Gibson for the recipe she doctored from allrecipes.com and Betty Crocker for the basis of the recipe I doctored for the crisp. Isn't it great that people are so willing to share?!
~Janice


